Organization administrators choose the cloud connection used for work after approval. Use this page to decide which permissions to delegate and which tasks people will complete manually.
Without a connection
Requests and approvals work without a cloud connection. If automated grants or revocations are unconfigured or fail, the work becomes a manual runbook task for the responsible group. A member performs the work externally and records completion with evidence.
Cloud operation runbooks use copy mode when no account is registered, signing keys are missing, or an operation is not allowed. The operator runs the displayed command in their own environment and records the result. A failed connection test is not treated as success.
You can add connections later. To decide which work to connect first, check the share of runbook execution in "Execution breakdown" on the dashboard.
Choose a connection method
Identify the work to automate and choose a page below. You will have a connection method and a defined task.
Cloud Authentication for cloud operations Instructions AWS OIDC AssumeRoleWithWebIdentity, orAssumeRolewith an external IDAWS Google Cloud Workload Identity Federation with service account impersonation Google Cloud Azure Federated credentials on an Entra ID app Azure GitHub GitHub App GitHub For automated access grants, also read “What gets executed” on that page. AWS Identity Center, Google Workspace, and Entra ID grant executors have separate configuration from cloud account registration. This tells you what registration alone enables.
OIDC lets your cloud trust the Actagate issuer and issue temporary credentials. The issuer URL is OIDC_ISSUER_BASE_URL with trailing / characters removed, followed by /t/<organization ID>. The subject is org:<organization ID>:account:<key>. Copy the values from the settings screen exactly.
The deployment operator must configure OIDC_ISSUER_BASE_URL and OIDC_SIGNING_KEYS for OIDC. Customers do not paste signing keys into the registration form.
Decide which permissions to delegate
- Create a dedicated role, service account, or app in your cloud. Limit permissions to the target resources and selected operations. Do not use broad roles such as
OrganizationAccountAccessRole. You will have a defined permission boundary for the connection. - For AWS and Google Cloud, optionally configure a separate read identity. Without it, reads use the execution configuration. This determines the permissions used for checks before and after changes.
- Select the required “Allowed operations.” This list does not grant IAM or RBAC permissions in your cloud. Steps using an unselected operation fall back to copy mode. You now have a defined set of operations for automatic execution.
Registration, tests, and audit
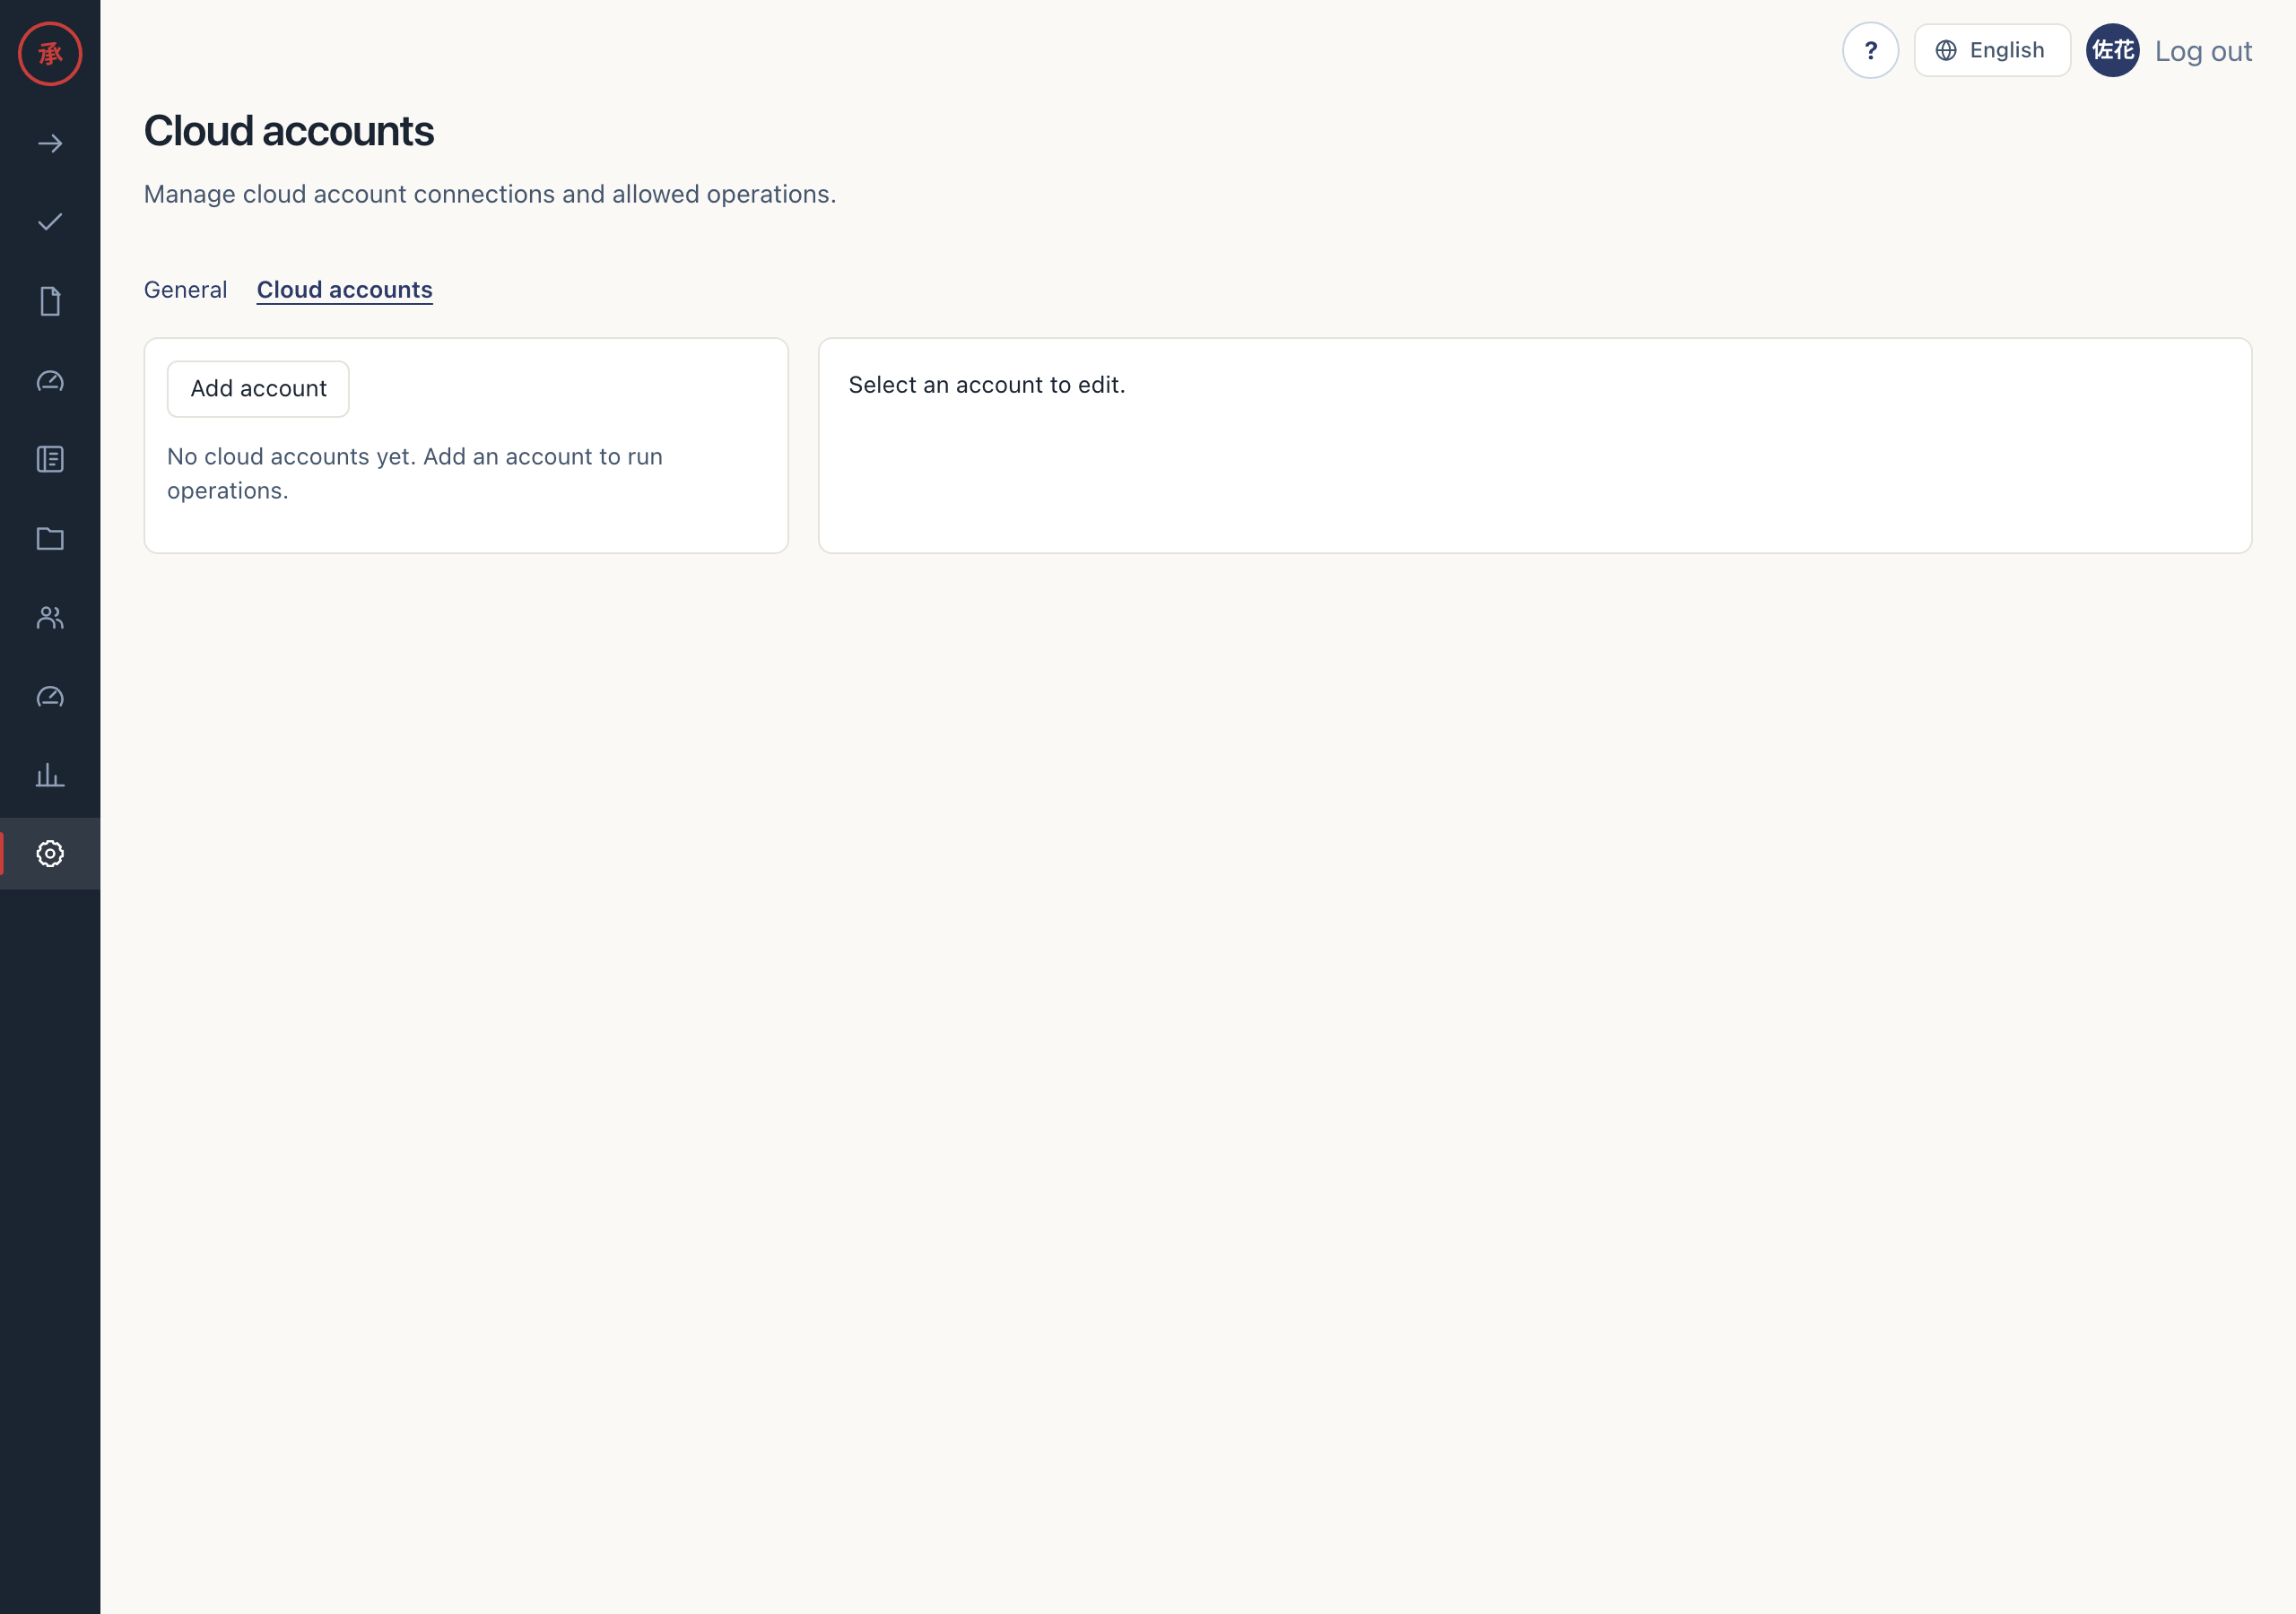
- In settings, open “Cloud accounts,” click “Add account,” and follow the cloud's instructions. “Account saved.” appears and the connection joins the list.
- After saving, click “Test connection.” The borrowed identity and “Expires at” appear. The test checks authentication; it does not prove permission for every operation.
- Check the audit log for
cloud_account.created,cloud_account.updated,cloud_account.deleted, andcloud_account.connection_tested. Registration, changes, deletion, and tests record the account key and success or failure. Tokens and secret credentials obtained during tests are not recorded.
[Screen: cloud account registration form]
[Screen: cloud account connection test result]
Troubleshooting
If saving fails, check input formats, duplicate keys within the organization, and issuer configuration. The form does not accept access keys, service account key JSON, or client secrets.
Operators complete work that cannot run automatically through manual runbook tasks or copy mode. Send the on-screen message and account key to your organization's administrator or deployment operator for diagnosis.
Register GitHub repositories
See Connect GitHub for connection, registration, branch protection, and self-hosted App setup.
Owners and admins connect GitHub using the card in “Integrations” under “Organization settings”, then open “GitHub repositories” in the left menu. If no installation is connected, follow the link back to settings to connect it.
- Select “Load available repositories” for a connected account and choose a repository.
- Enter one protected branch per line and choose the merge mode and method. Leave the workflow blank to disable watching. The timeout is a positive integer in minutes. You can also enter manual instructions.
- Enter precheck, risk paths, and approval route as JSON using the examples on screen, then select “Register”. A
nullapproval route uses the manager. For a user or group route, enter its ID inref. - Edit the registered repository in the list and select “Save”. “Remove registration” removes the registration; it does not delete the repository on GitHub.
Saving sends all settings and the approval route. If an error appears, check the input format and your permissions. This screen manages registration and settings. PR requests and merging will be added later.